Drive a route
From a pending drive on your list to a completed one — starting the drive, working through stops, and ending it when the route is finished.
Start the pending drive
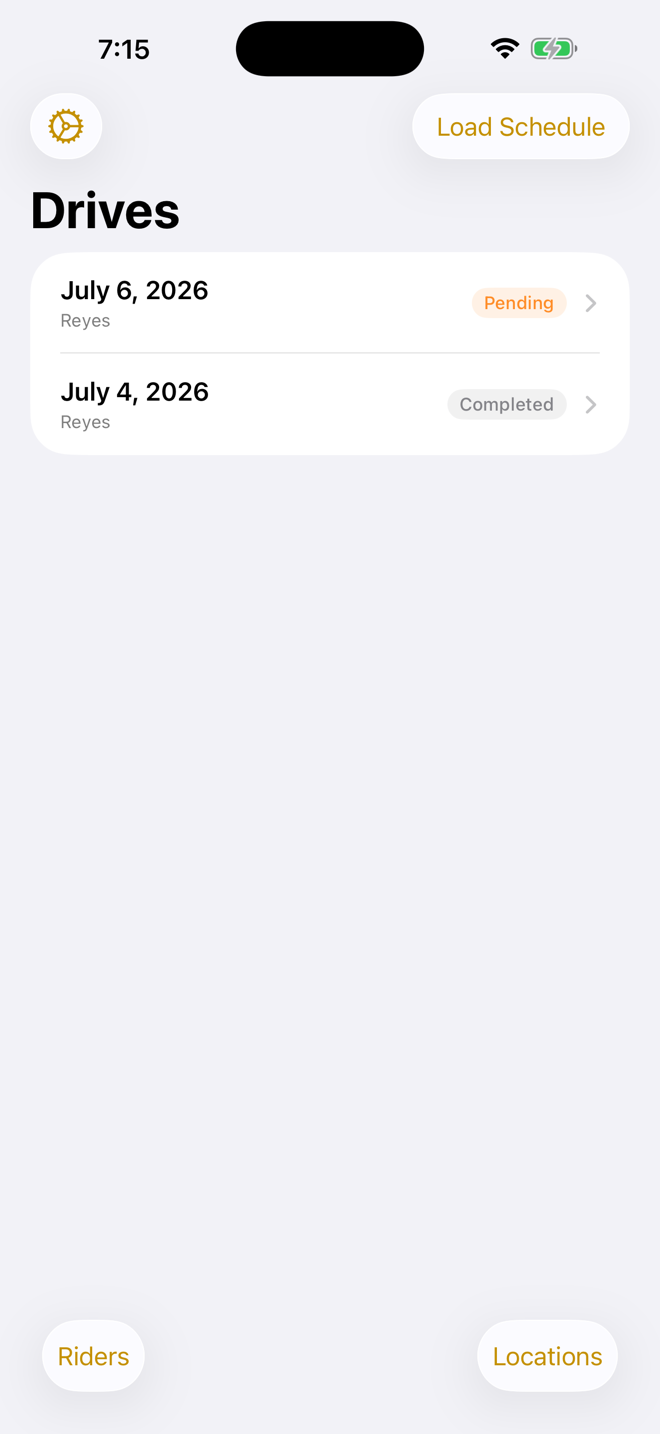
A pending drive on your list is ready to go whenever you are — tap it, then tap Start Drive.
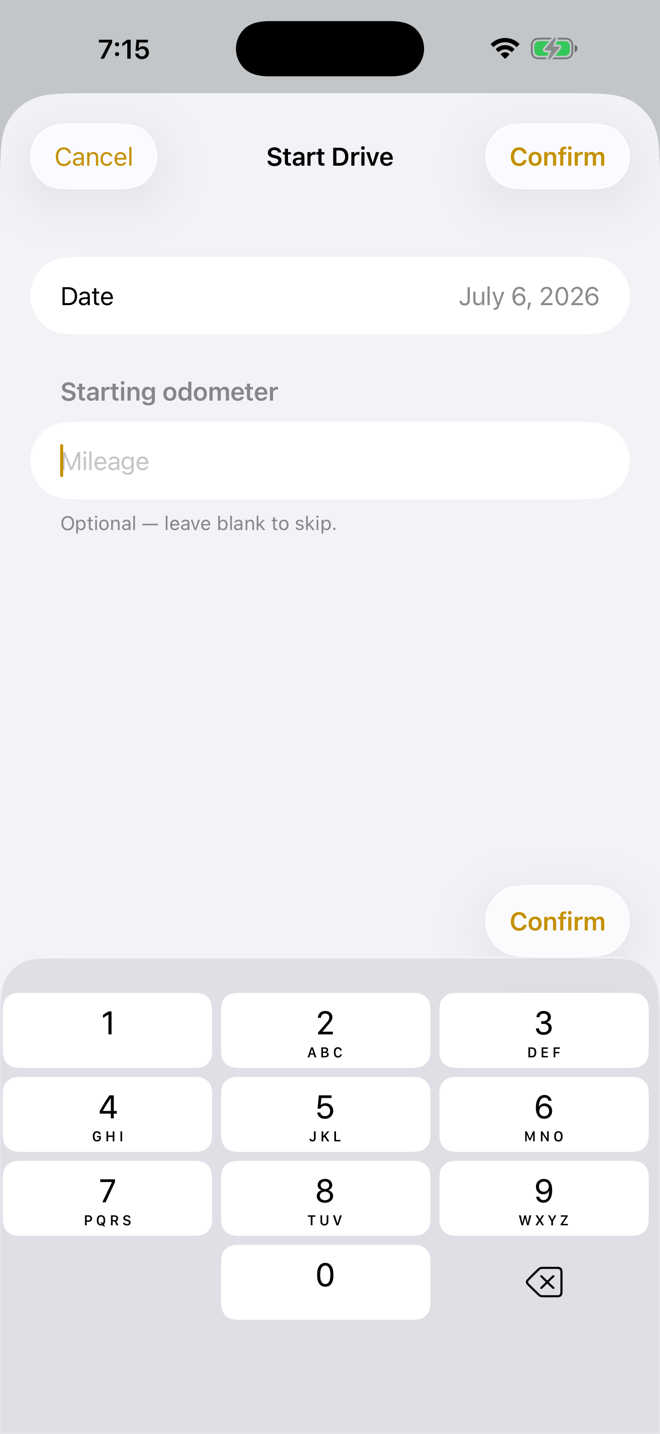
Enter a starting mileage — or skip it
You can record the odometer reading before you pull out, but it's entirely optional. Leave it blank and tap Confirm to start the drive without it.
The main driving screen
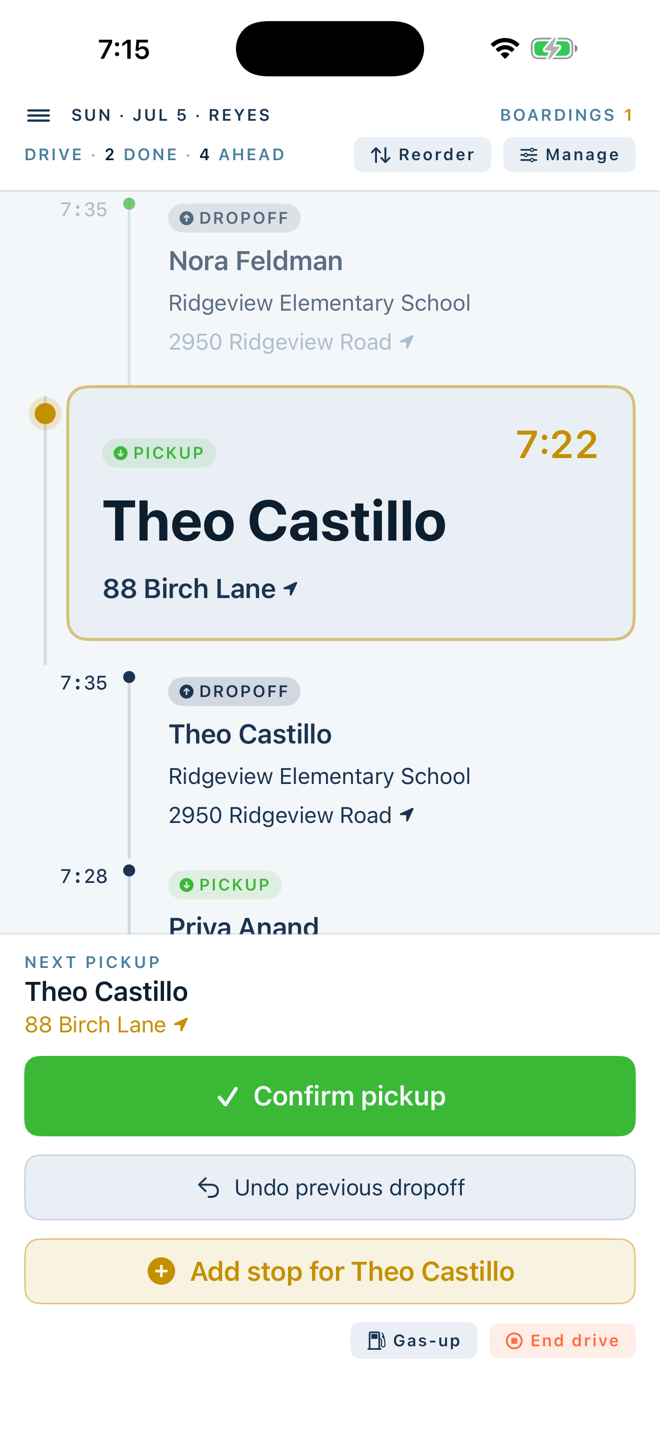
Once the drive starts, Cambria Bus switches to the driving screen — a scrolling timeline of stops with the current one always front and center at the bottom.
- Next stop. The rider's name, pickup or dropoff address, and — when Drive Time Hints are turned on in Settings — an estimated ETA to that stop. Hints are off by default; enable or disable them from Settings → Show Drive Time Hints.
- Tappable address. The stop's address is a live link — tap it to open turn-by-turn directions in Maps.
- Manage. The Manage chip in the header opens the full drive for editing — add, remove, or adjust stops mid-route.
- Reorder stops. The Reorder chip switches to a drag-to-reorder list for the remaining stops, if the order needs to change on the fly.
- End drive. Available as a chip in the action bar throughout the drive, and as its own card once every stop is done.
Reordering stops
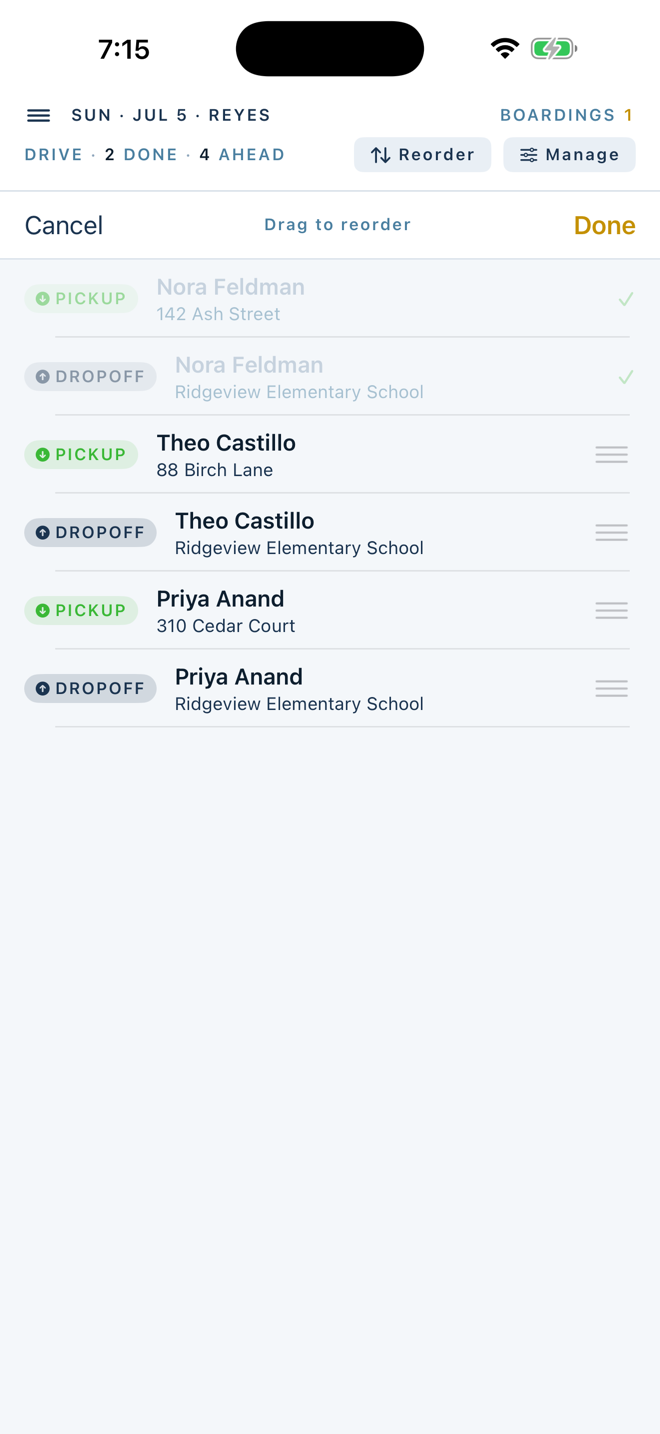
Tapping Reorder drops into a dedicated list with drag handles. Completed stops stay locked at the top; drag any pending stop into a new position and tap Done to save the new order.
Managing the drive
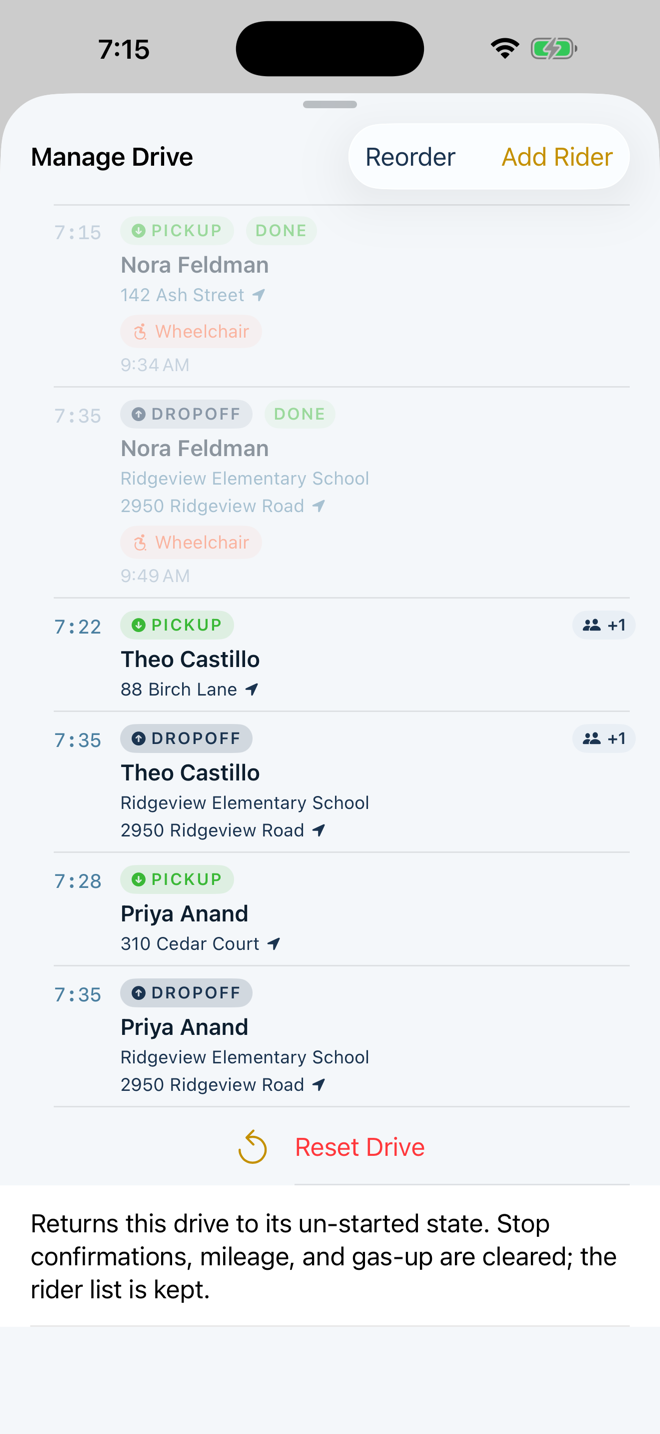
Tapping Manage opens the same editor used before the drive started — add a stop, remove one, or fix a detail without leaving the driving screen.
Confirming a stop
Tap Confirm pickup or Confirm dropoff at the bottom of the screen once you've completed the current stop. The timeline advances automatically — the stop you just finished moves up as completed, and the next pending stop takes its place at the bottom, ready to confirm in turn.
End the drive once every stop is done
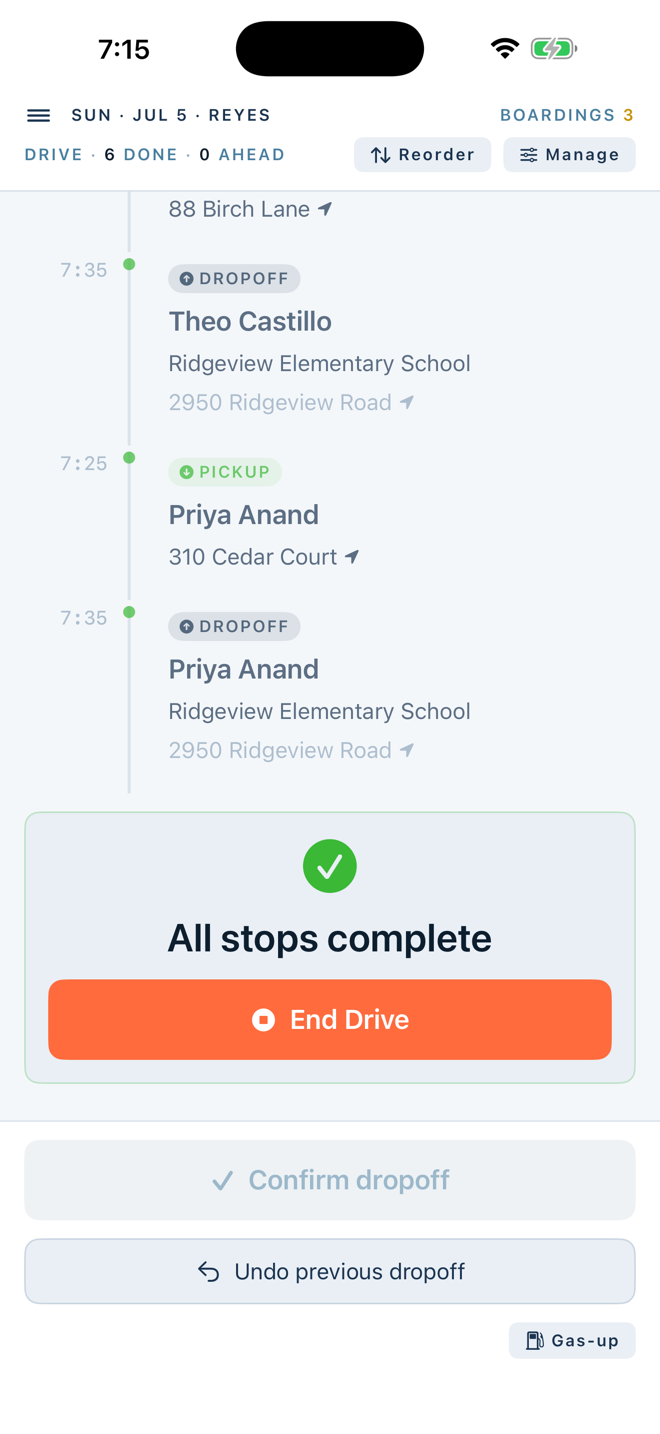
When the last stop is confirmed, the timeline replaces the confirm button with an End Drive card. Tap it to close out the route.
Enter an ending mileage — or skip it
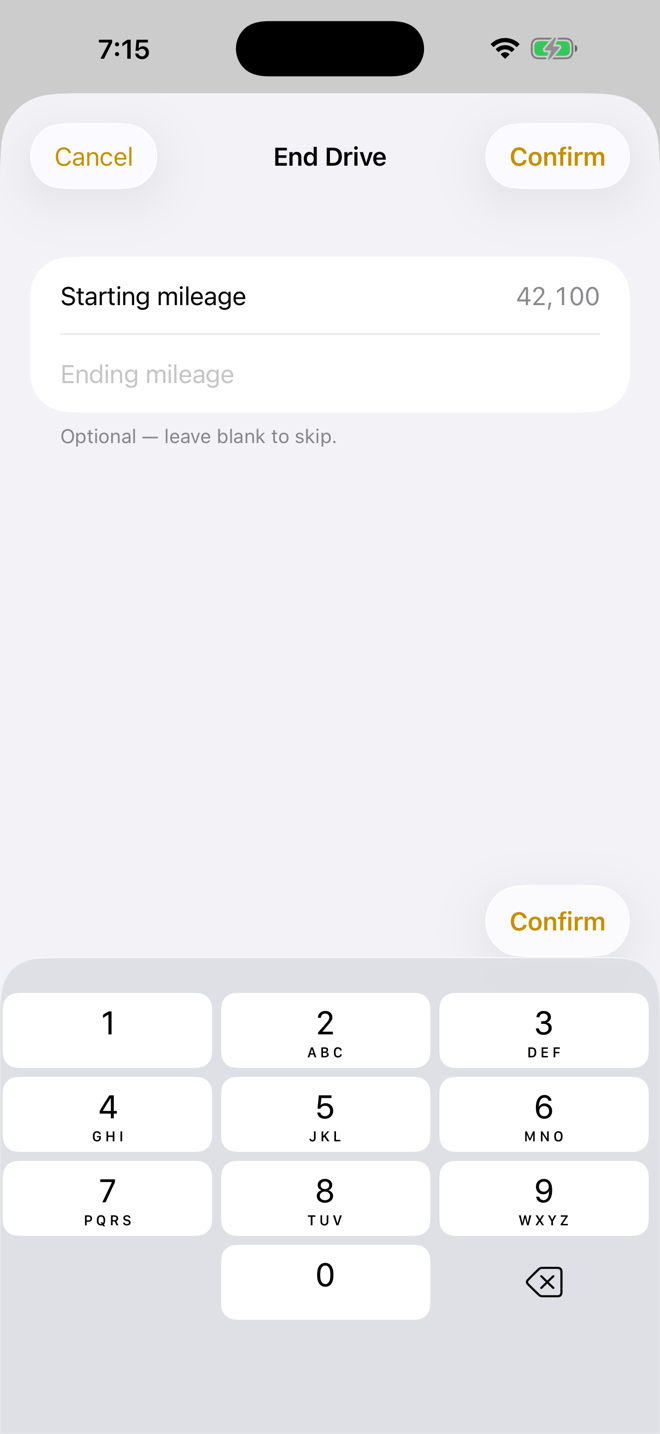
Just like the start of the drive, the ending mileage is optional. Enter it to log total miles for the route, or leave it blank and tap Confirm to close out the drive without it.
Review the drive summary
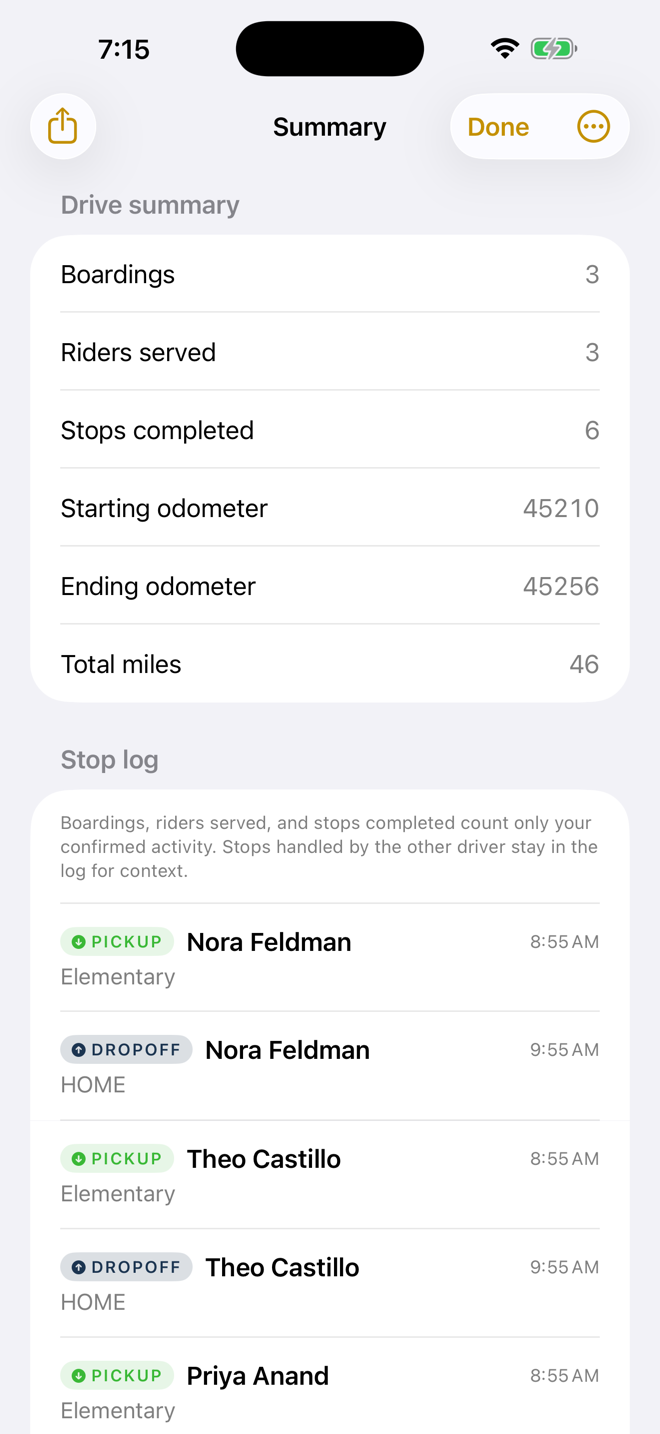
Cambria Bus shows a summary of the completed drive — boardings, mileage (if you entered it), gas-ups logged along the way, and any stops that were removed mid-route. Tap Done to dismiss it.
The drive is marked complete
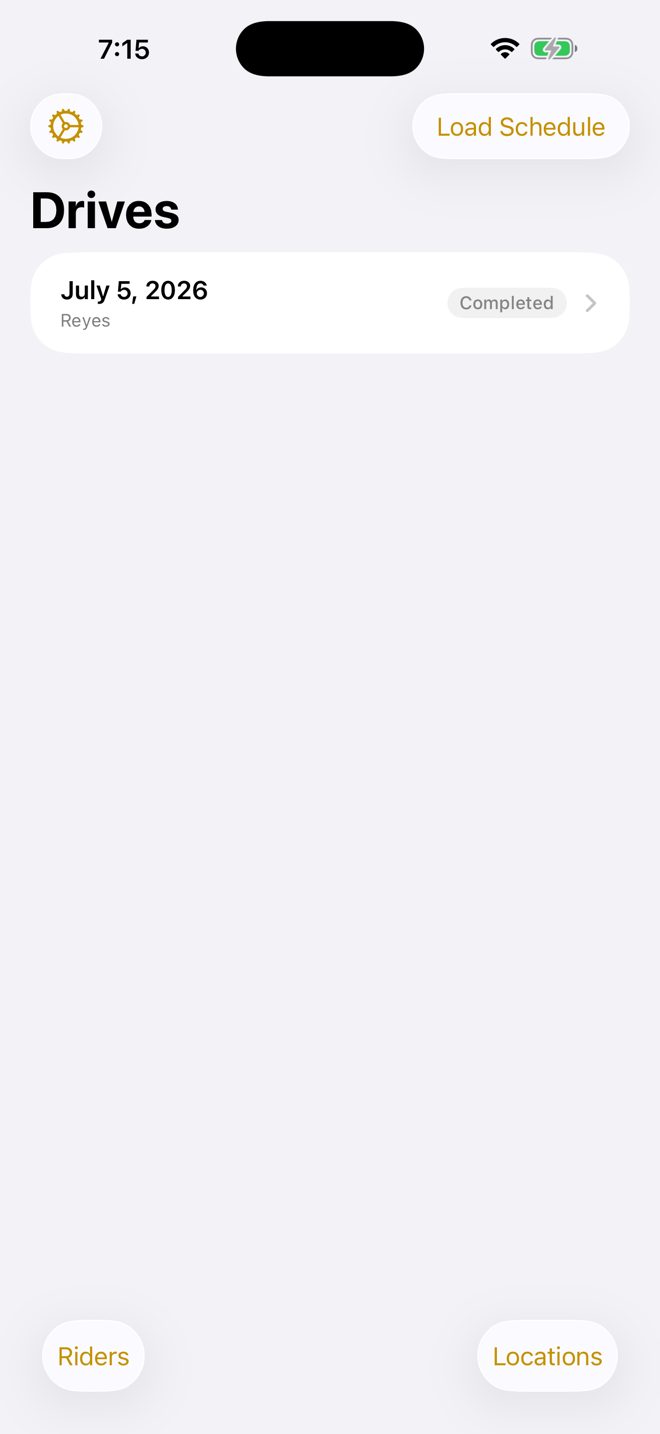
Back on the drive list, the route now shows as completed — ready to review later whenever you need to.